Une vanne d'arrêt qui goutte est plus qu'un simple désagrément. Elle indique que votre plomberie nécessite une intervention. Ce goutte-à-goutte constant gaspille de l'eau et, s'il est ignoré, peut entraîner des dégâts plus importants.
La bonne nouvelle ? Vous pouvez souvent réparer vous-même une vanne à guillotine. La plupart des fuites proviennent de deux endroits : la tige de valve sous la poignée ou le joint autour du corps de la vanne.
Ce guide vous fournit des instructions claires pour résoudre ces problèmes courants. Nous vous aiderons également à déterminer si une simple réparation suffit ou s'il est préférable de remplacer complètement la vanne.
Voici ce que nous allons aborder :
Avant de toucher à un outil, la sécurité prime. Travailler sur des conduites d'eau sans précautions adéquates peut provoquer des inondations, des dégâts matériels et des blessures.
AVERTISSEMENT : Coupez l'alimentation en eau.
- Repérez la vanne d'arrêt principale de votre maison. Elle se trouve généralement à l'endroit où la conduite d'eau pénètre dans la maison. Vérifiez au sous-sol, dans le vide sanitaire ou dans le local technique.
- Tournez la poignée dans le sens horaire jusqu'à ce qu'elle soit complètement fermée. Pour les poignées à levier, tournez-la perpendiculairement au tuyau.
- Assurez-vous que l'eau est coupée. Ouvrez un robinet au niveau le plus bas de votre maison, par exemple un évier de sous-sol. Laissez couler l'eau jusqu'à ce qu'elle cesse complètement de couler. Cela vide la canalisation et relâche la pression.
Se procurer les outils et l'équipement adéquats au préalable facilite et sécurise le travail.
| Outils/Équipements | But |
|---|---|
| Clés réglables (x2) | L'un pour serrer les écrous, l'autre pour maintenir le corps de la vanne stable. |
| Pince à joint coulissant | Utile pour saisir la poignée ou d'autres composants. |
| Tire-emballage ou pioche | Pour enlever les matériaux d'emballage anciens et compactés. |
| Brosse métallique | Pour nettoyer les filetages et les composants de la vanne. |
| Chiffons propres | Pour sécher la vanne et la nettoyer. |
| Lunettes de sécurité | Protège vos yeux des projections d'eau et des débris. |
| Gants imperméables | Garde les mains sèches et améliore la prise en main. |
| Cordon d'étanchéité en PTFE | Le nouveau matériau utilisé pour créer le joint. |
| Huile pénétrante | Permet de desserrer les écrous récalcitrants ou corrodés. |
Pour choisir la bonne réparation, il faut trouver exactement d'où vient l'eau. vanne à guillotine Il comporte plusieurs parties : la poignée, la tige à laquelle elle se connecte, l’écrou de garniture situé sous la poignée, le plus gros écrou de chapeau et le corps principal de la vanne.
Commencez par essuyer entièrement la valve avec un chiffon propre et sec. Observez-la attentivement pendant quelques instants. La première goutte d'eau qui apparaît est l'origine de la fuite.
L'infiltration d'eau au niveau de la jonction entre la tige métallique et l'écrou de presse-étoupe est la fuite la plus fréquente. C'est aussi la plus facile à réparer.
Cela se produit lorsque le matériau de calage à l'intérieur de l'écrou s'use, se dessèche ou se détache avec le temps. Ce matériau forme un joint autour de la tige.
Une fuite au niveau du joint où la partie supérieure de la valve se visse sur le corps principal est plus grave.
Cela signifie que le joint du capot est défectueux. Il est parfois possible de résoudre ce problème en démontant la soupape. Mais souvent, cela signifie que la soupape est ancienne et arrive en fin de vie.
Si vous constatez un écoulement continu au niveau du bas de la vanne ou si vous voyez une fissure dans le corps en laiton, la vanne ne peut pas être réparée.
Il s'agit d'une défaillance critique. Elle est due à une corrosion importante, à des dommages causés par le gel ou à un défaut du métal. Une vanne de ce type doit être remplacée immédiatement pour éviter une rupture.
Une fois la fuite localisée, vous pouvez procéder à la réparation. Nous commencerons par la solution la plus simple, puis nous passerons à une solution plus complète pour les fuites au niveau de la tige. Attention : l’eau doit être coupée pour la méthode 2.
En cas de petite fuite au niveau de la tige de la valve, essayez d'abord de resserrer l'écrou de garniture. Cette simple opération suffit souvent à comprimer suffisamment la garniture usagée pour rétablir l'étanchéité.
Conseil de pro : Ressentez la tension
Ne serrez l'écrou que par petits quarts ou huitièmes de tour. Il suffit d'exercer une pression suffisante pour stopper la fuite. Un serrage excessif peut bloquer la poignée de la vanne et même endommager la tige, aggravant ainsi le problème. La clé doit offrir une résistance ferme, sans forcer.
Si le resserrage n'a pas suffi ou si la fuite est importante, le matériau d'étanchéité est usé et doit être remplacé. Cela crée une étanchéité neuve.
Conseil de pro : Soyez minutieux et délicat
L'ancien joint se présente généralement sous la forme d'un anneau dur et cassant ou d'une matière fibreuse et compressée. Retirez-le délicatement, morceau par morceau. Soyez patient. Assurez-vous de l'enlever complètement. Veillez à ne pas rayer la surface polie de la tige de soupape en laiton. Des rayures profondes pourraient créer une nouvelle voie d'infiltration d'eau.
Parfois, la réparation d'une vanne à guillotine n'est pas la solution la plus pratique à long terme. Savoir quand privilégier le remplacement à la réparation vous permet d'économiser du temps, de l'argent et des soucis ultérieurs.
Il faut donc regarder au-delà de la fuite immédiate. Il est nécessaire d'évaluer l'état général et l'âge de la vanne.
La plupart des vannes d'arrêt domestiques sont en laiton ou en bronze et ont une durée de vie typique de 10 à 20 ans. Cette durée peut être plus courte dans les régions où l'eau est très dure ou a une composition chimique agressive. Ces conditions accélèrent la corrosion et l'accumulation de tartre.
Utilisez cette matrice de décision pour vous aider à faire le meilleur choix.
| Symptôme / État | Recommandation | Raisonnement |
|---|---|---|
| Fuite au niveau de la tige (sous la poignée) | Réparation | Il s'agit du point de défaillance le plus courant et il se répare facilement à très faible coût avec un nouveau joint d'étanchéité. |
| La vanne est très ancienne (>15 ans) et corrodée. | Remplacer | Le métal est probablement fragilisé par la fatigue. La réparation d'une fuite pourrait en entraîner une autre, comme le gel d'une vanne ou une fissure dans la carrosserie. |
| Fissure visible dans le corps de la vanne | Remplacez immédiatement | Il s'agit d'une défaillance structurelle irréparable. La vanne présente un risque élevé d'éclatement et de provoquer une inondation majeure. |
| La vanne ne se ferme pas complètement (passage d'eau) | Remplacer | Le clapet ou le siège interne est endommagé, déformé ou obstrué par du tartre. Sa réparation nécessite un outillage spécialisé et n'est pas rentable. |
| Poignée cassée ou tige abîmée | Remplacer | Trouver des poignées ou des tiges de remplacement parfaitement compatibles avec les anciennes vannes est difficile et coûte souvent presque aussi cher qu'une vanne neuve. |
Si votre diagnostic ou la matrice de décision indique qu'un remplacement est nécessaire, il s'agit de travaux de plomberie plus complexes. Cela implique de retirer complètement l'ancienne vanne et d'en installer une nouvelle.
C'est un projet de bricolage réalisable pour ceux qui ont une certaine expérience. Mais procédez avec prudence.
Voici un aperçu général des étapes :
AVIS IMPORTANT
Si vous n'êtes pas tout à fait à l'aise avec cette procédure, si les tuyaux sont anciens et semblent fragiles, ou si le robinet est soudé, nous vous recommandons vivement de faire appel à un plombier agréé. Le coût d'un professionnel est bien inférieur à celui de la réparation d'un tuyau cassé à l'intérieur d'un mur.
En suivant ces étapes, vous avez résolu avec succès l'un des problèmes de plomberie les plus courants. Une réparation réussie de vanne d'arrêt permet non seulement de stopper une fuite, mais aussi d'aborder sereinement vos futurs travaux d'entretien domestique.
Vous avez appris les leçons les plus importantes pour tout travail de plomberie.
Félicitations pour la remise en état de votre plomberie et le retour de votre tranquillité d'esprit. Un entretien préventif comme celui-ci est la meilleure façon de garantir un système sans problème pour les années à venir.
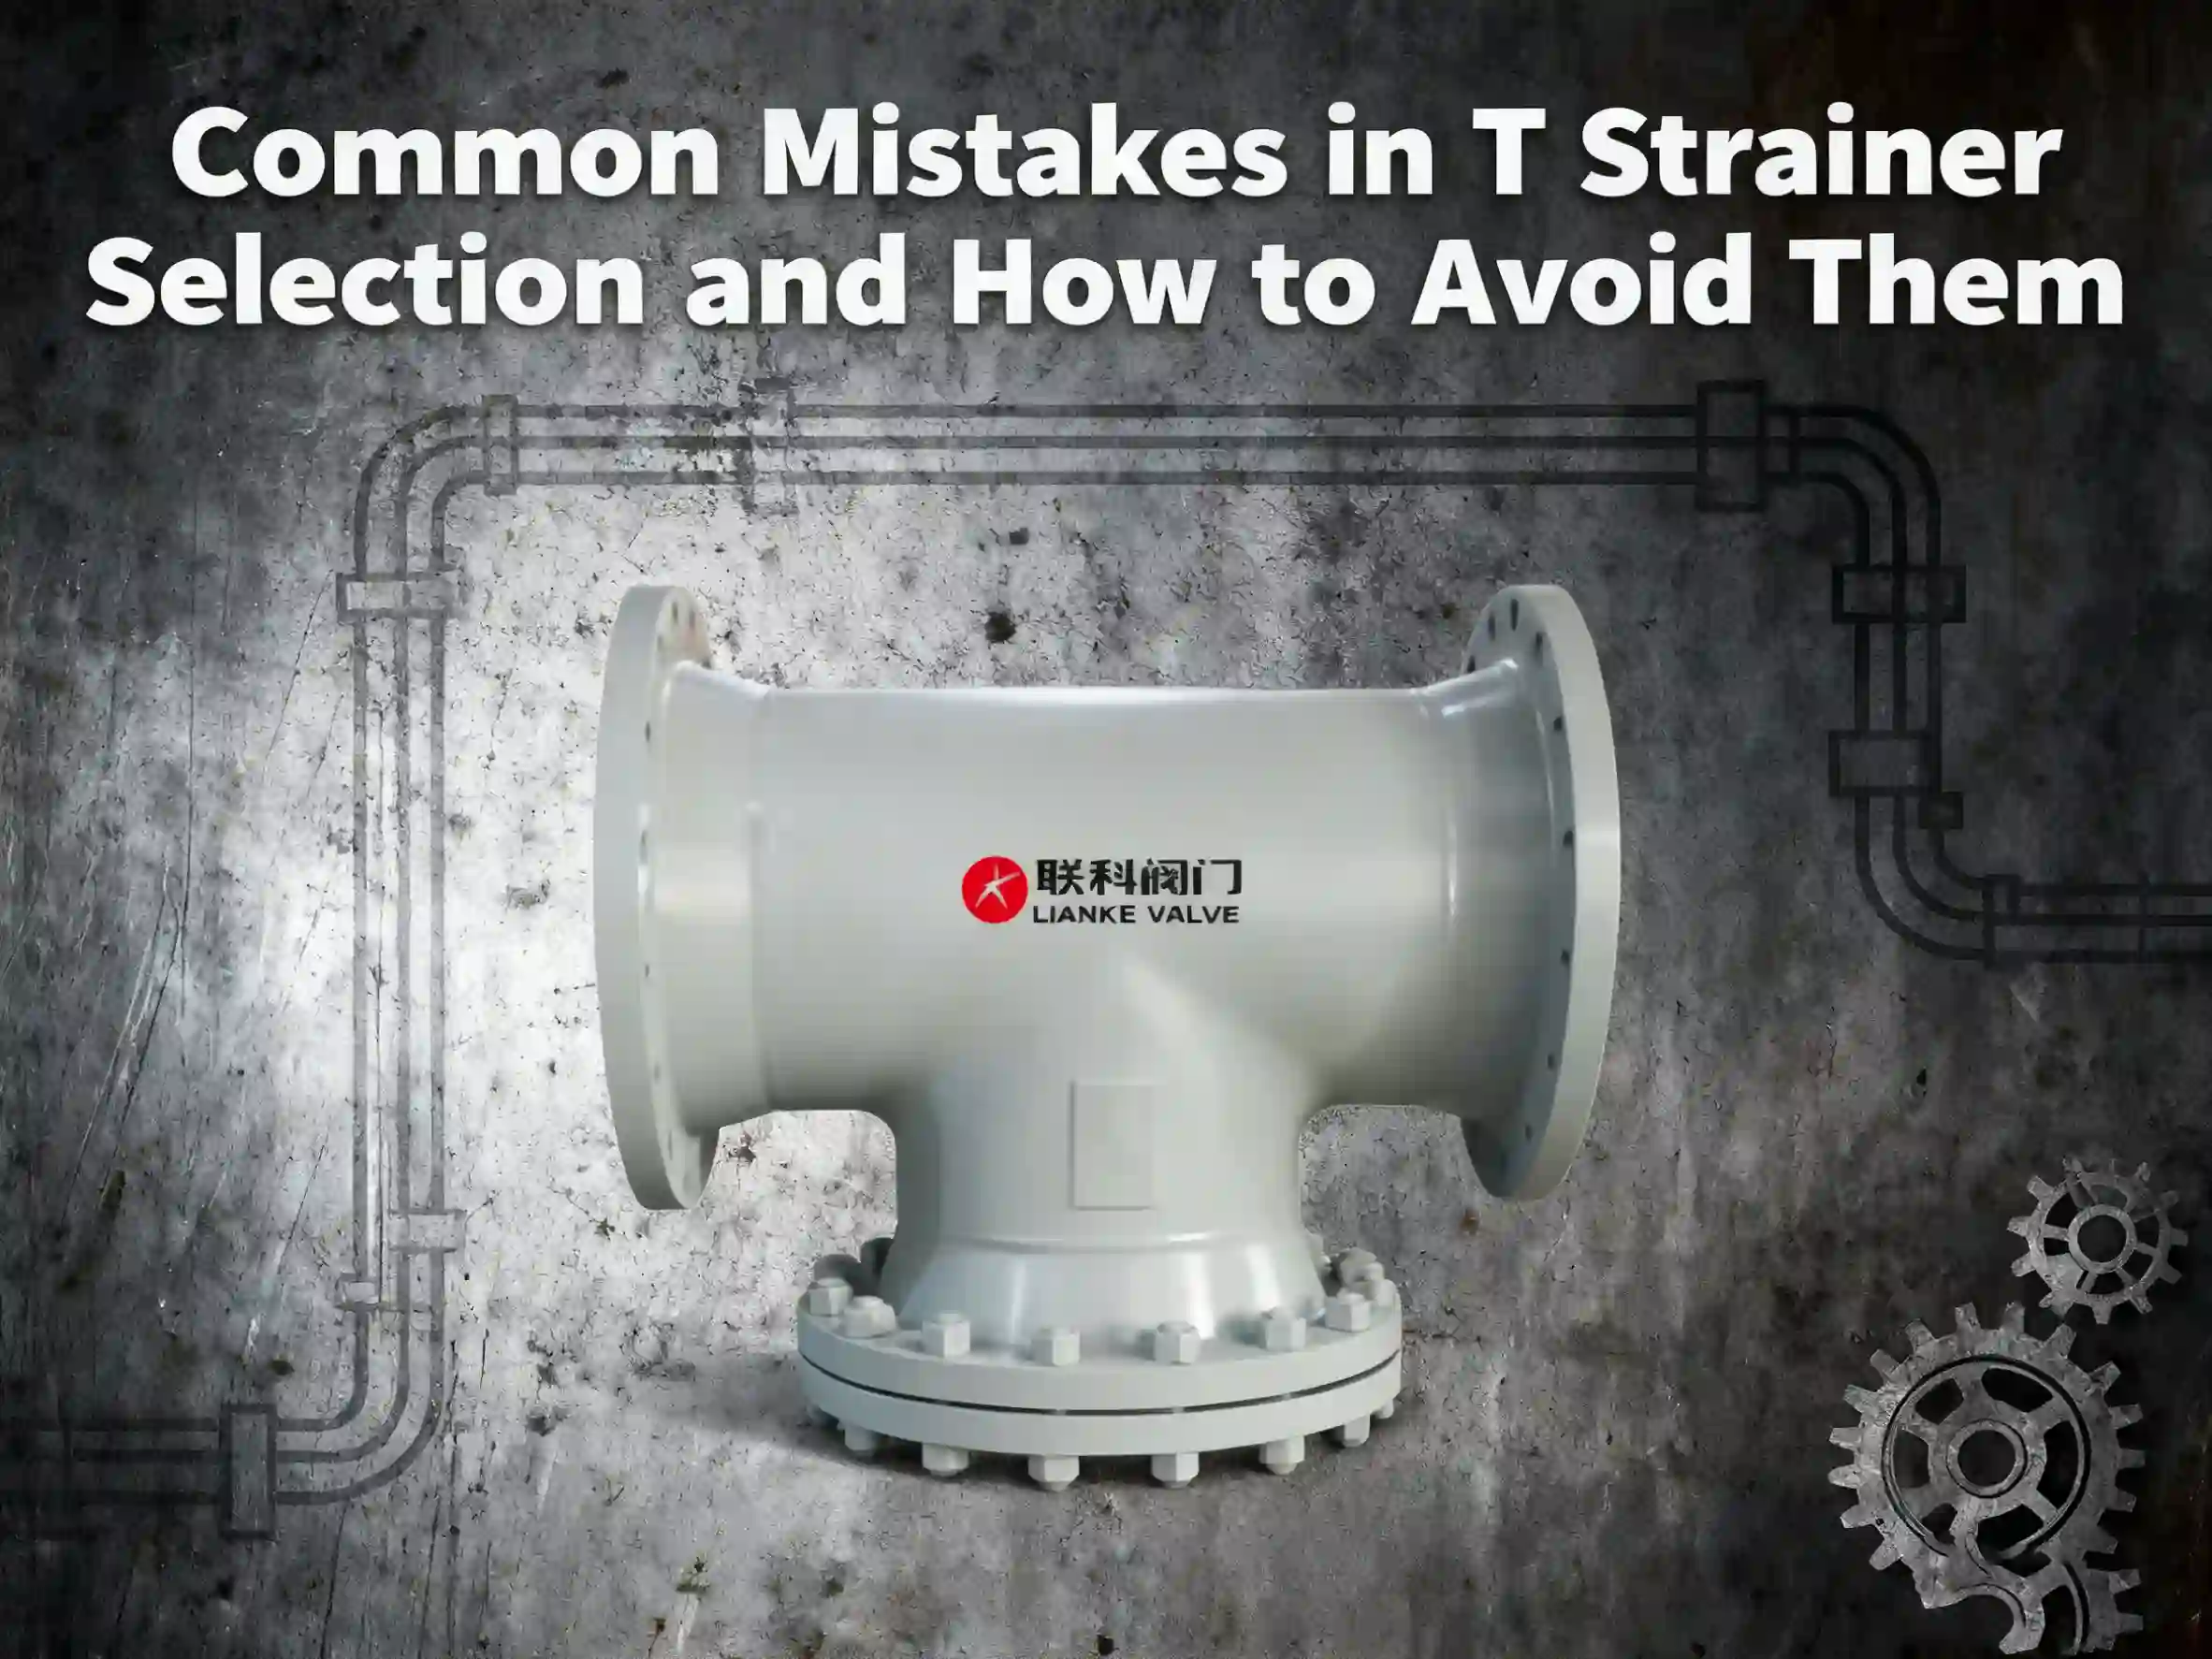
Un filtre de type AT peut sembler un simple dispositif de filtration, mais un mauvais choix lors de son acquisition risque de déséquilibrer votre système. Même une petite erreur de sélection peut entraîner des chutes de pression ou une usure prématurée de l'équipement. Évitez ces erreurs, et votre système fonctionnera de manière plus fluide et durera plus longtemps. […]
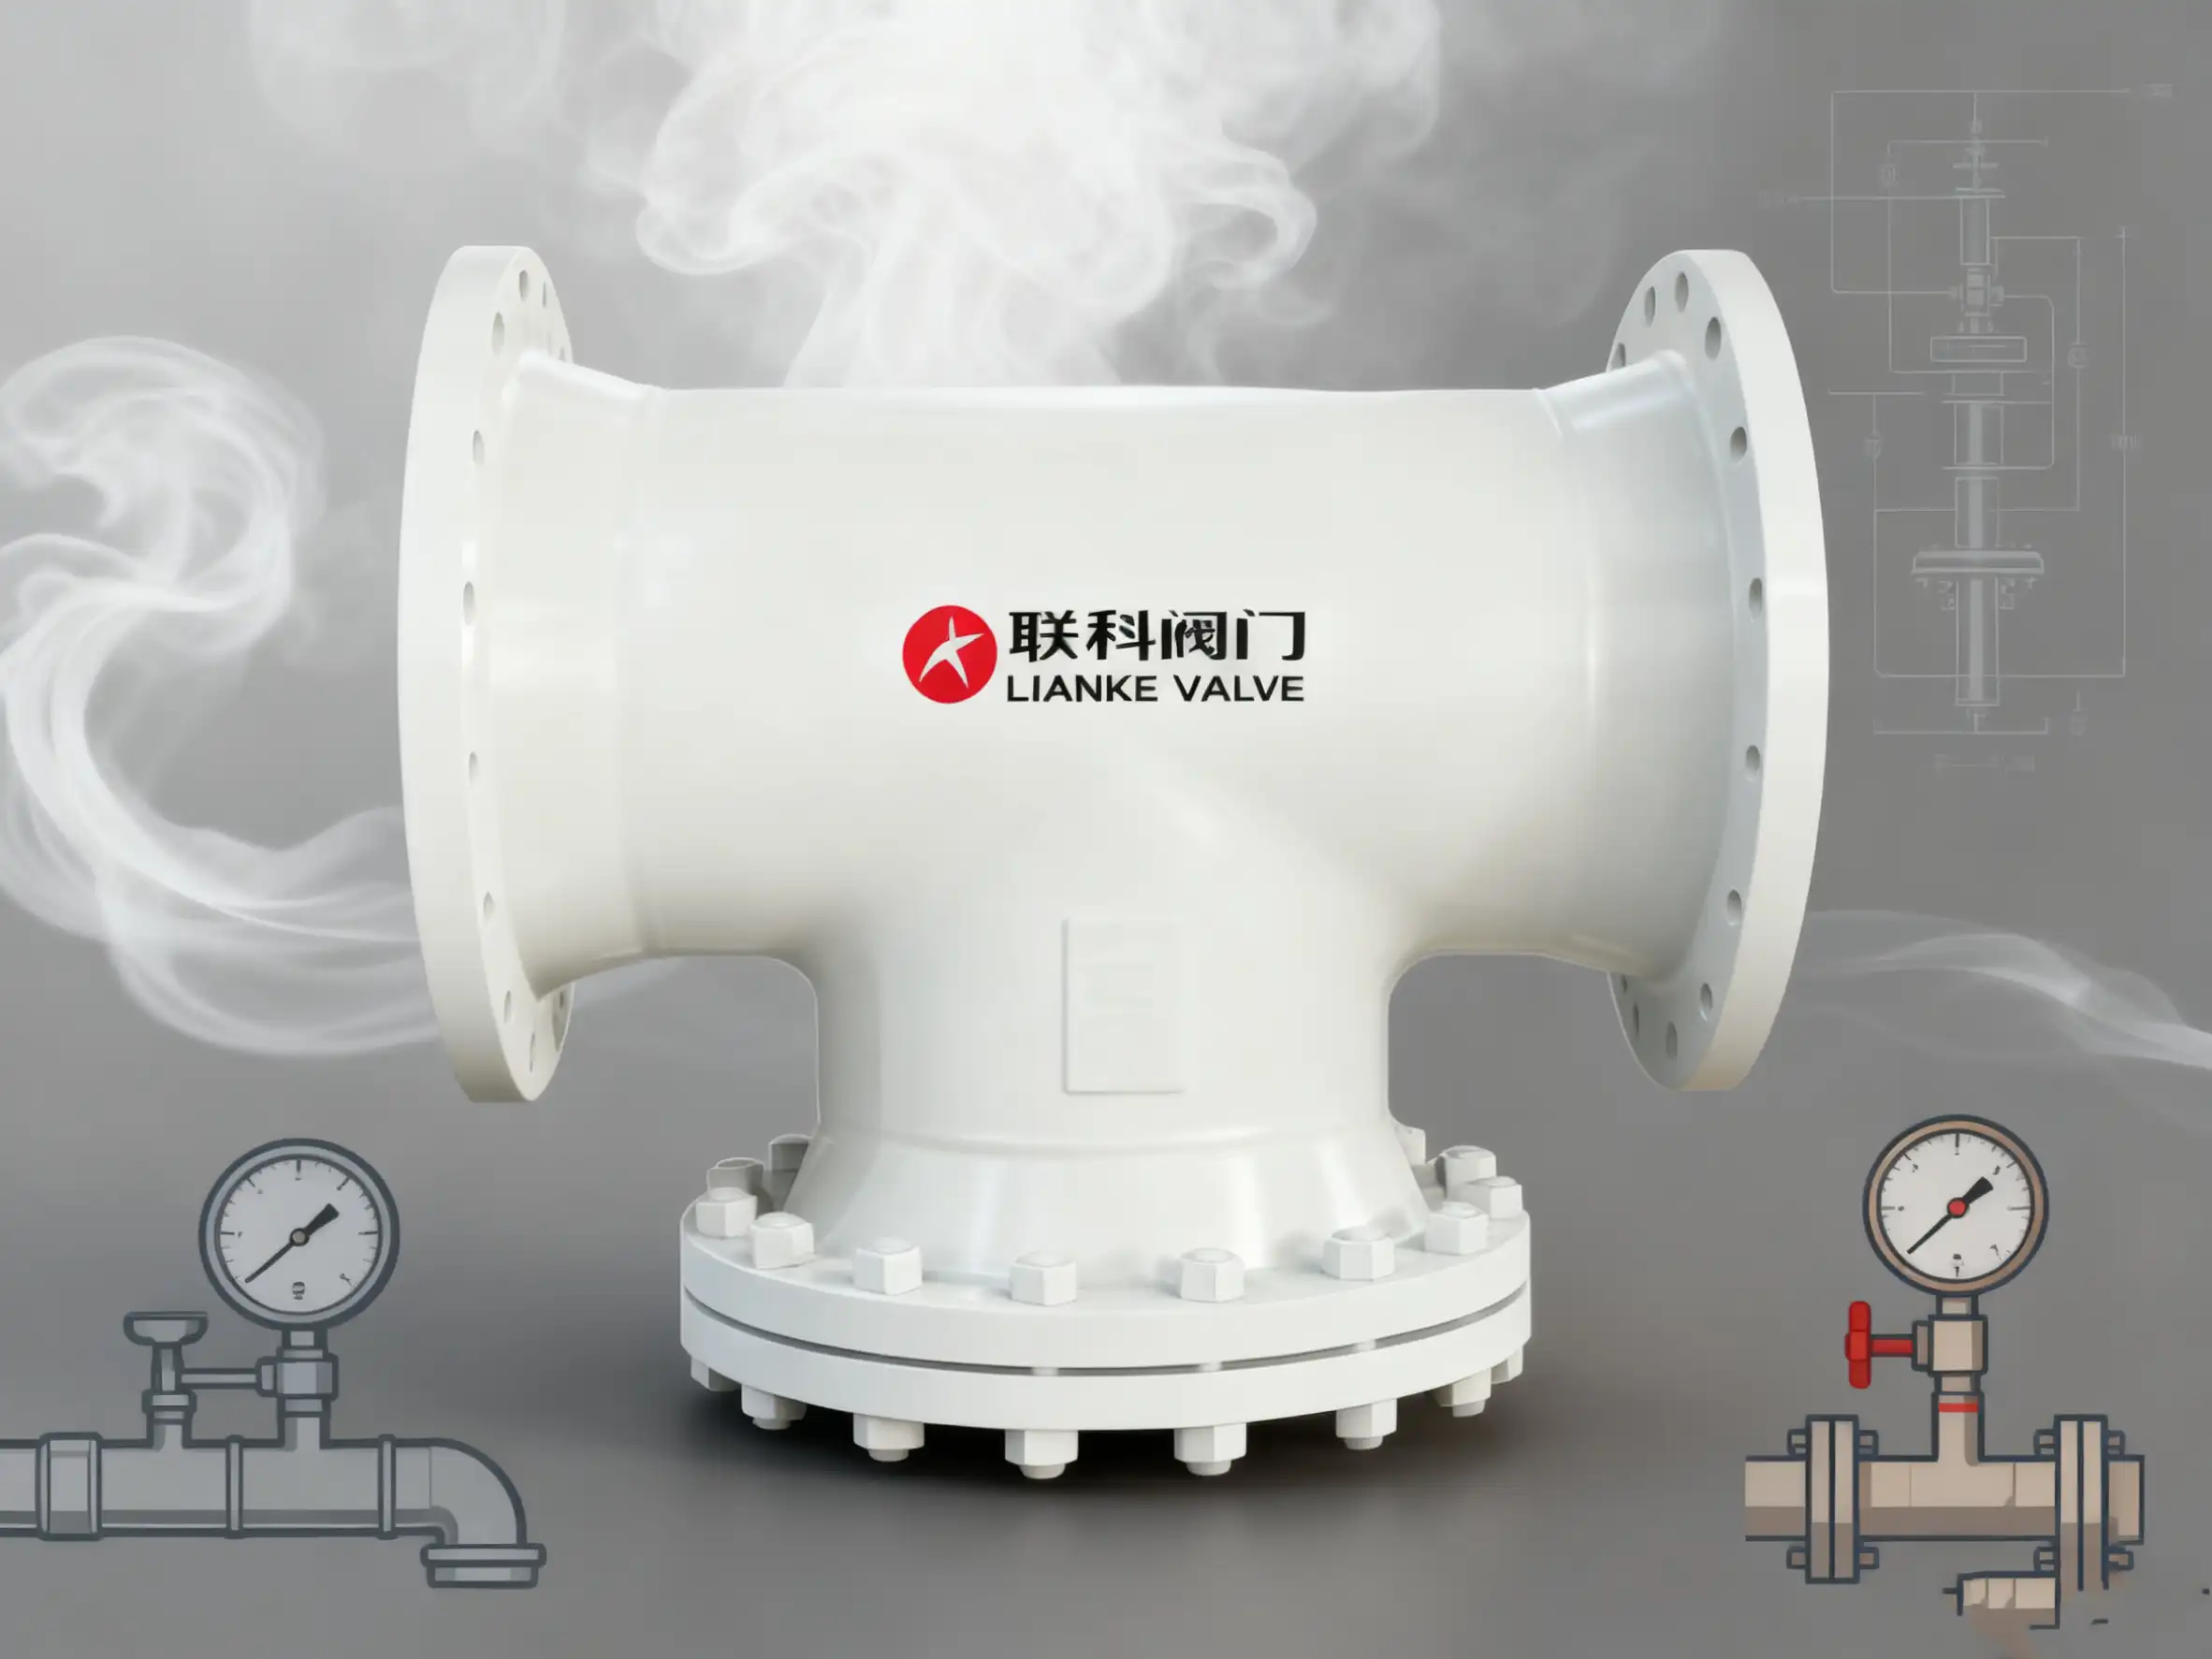
Le filtre de type AT est un équipement fiable utilisé pour protéger les systèmes de vapeur et haute pression. Filtrer les particules indésirables avant qu'elles n'atteignent les équipements critiques contribue à un fonctionnement stable et efficace. Savoir quand installer un filtre de type AT, comment le choisir et le régler correctement peut faire toute la différence et éviter des réparations coûteuses.
Le filtre de type AT est un équipement efficace utilisé dans diverses industries pour protéger les systèmes de fluides contre la contamination et l'usure des composants. Cependant, tous les filtres ne sont pas fabriqués dans le même matériau, ce qui influe sur leurs performances. Ce guide explique les matériaux utilisés pour la fabrication des filtres de type AT, car cela est essentiel pour […]
Le filtre de type AT joue un rôle essentiel pour garantir que les systèmes de fluides et les canalisations restent exempts de débris susceptibles de nuire à leur fonctionnement. Cet article présente un aperçu de ses applications courantes et de ses variantes, et explique pourquoi il est indispensable dans divers secteurs industriels. Qu'est-ce qu'un filtre de type AT ? Le filtre de type AT est un filtre spécialisé dans la filtration. […]